Displaying ready-made images
Drawing basic shapes can be fun and sometimes challenging. Still, it would be even more fun to be able to combine our drawing with ready-made pictures or photos. In PyGame environment this is very simple. Let’s look at the following example:


We have two new PyGame functions in this program:
Function
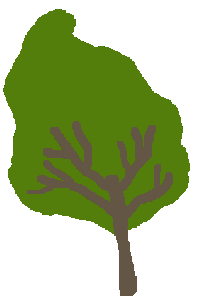
pg.image.loadloads the image from the disk. We pass the name of the file containing the image to this function (path to the file may be included), and as a result it returns the image in a format suitable for program. We should save that result in some variable (in the example it is the variable tree_image);Function
blitdisplays an image in a given window. Arguments of this function are a variable containing the image (result of function pg.image.load) and position \((x, y)\) in the window where we want the image to appear. At the position we set, the upper left corner of the image will appear. In the example, we set the position \((0, 0)\), so the upper left corner of the image appears in the upper left corner of the window.
Try typing different coordinate values instead of \((0, 0)\) to get a better understanding of how the blit function works. We can observe that displaying ready-made images is similar to displaying movable drawings using an anchor.
You can also try displaying one image in multiple places on the screen, as we did with basic shapes. Just call the blit function multiple times, with different values for the display location.
When displaying an image in multiple places, the images may overlap. Therefore, care must be taken of the order of displaying. In our case, we should first show the tree we imagine as further, and then the tree we imagine as closer. Otherwise the final scene may seem wrong, as the following picture shows.
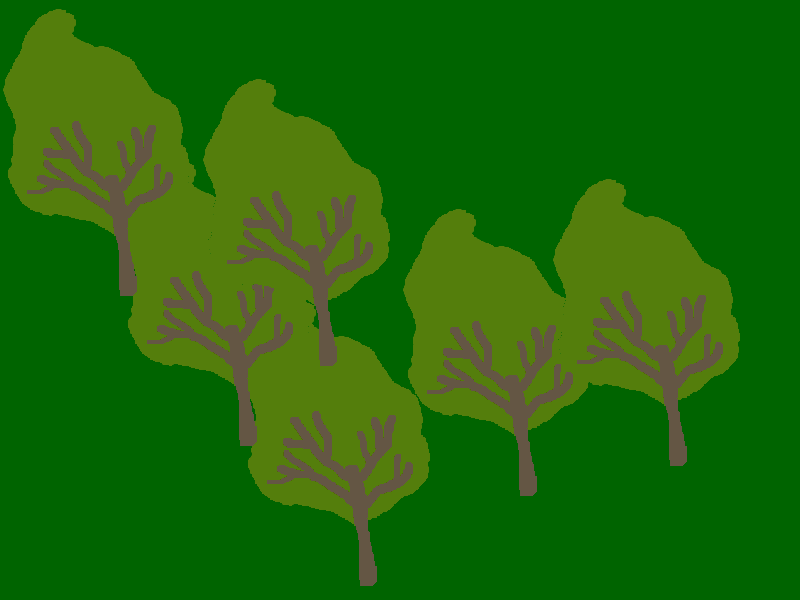
The objects we perceive as further are usually in the upper part of the image, which means that they have a smaller \(y\) coordinate, though this may not always be true. In this and similar examples it will be enough to stick to this simple rule: it is better to first display objects with smaller \(y\) coordinate.
Tasks for exercise

Task - trees
In the following program, correct the order of tree positions in the list, and then add a statement to draw a tree at position (x, y) in the loop.
Task - Apples
Finish the program by drawing the tree with the apples (as in the example).
After you finish the program, you can also try modifying the program to display an apple tree 100 pixels to the right and 50 pixels lower.
Task - Checkmate
Write a program that draws a chess position, as in the example. The filenames for the empty chessboard, white king, white rook and black king image files are respectively “chess_table.png”, “white_king.png”, “white_rook.png”, “black_king.png”.


Task - Orchard
In the next task the drawing of the orchard has been started. If we run the program, we will notice some inconsistencies. One problem is that apples are only found on the first tree, and they should be located on each tree, arranged in the same way. In addition, the second tree on the left (correctly) overlaps the leftmost tree but does not overlap its apples. We need to display the tree we show earlier along with its apples before moving on to the next tree.
Correct the program so that it displays the image obtained by clicking the “Play task” button.